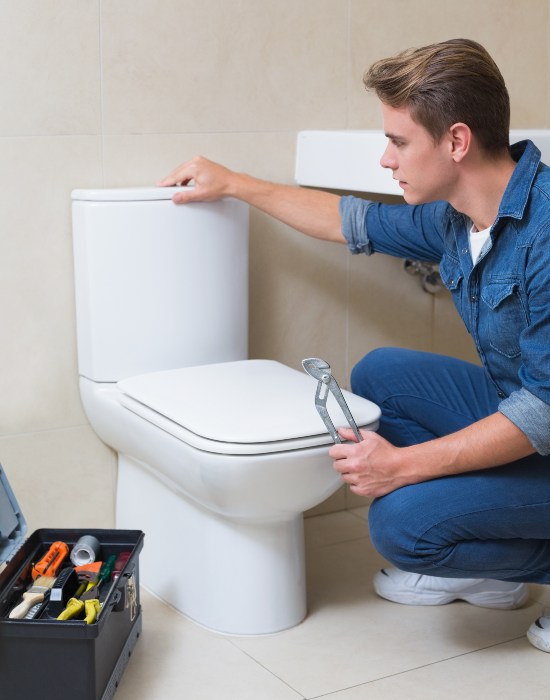
The toilet is one of the most important yet under-appreciated fixtures in your home. You might not give it a second thought until it starts leaking and damaging your bathroom floor. If you’re currently dealing with a leaky toilet or are in the process of installing a new one, knowing how to set a toilet properly is the key to preventing leaks. Follow this guide to learn about the causes of leaky toilets and step-by-step toilet installation instructions to keep future leaks at bay.
Why Do Toilets Leak?
Before delving into the toilet installation process, it’s important to understand why leaks happen in the first place. The most likely culprits include:
- Condensation: Before assuming the worst, check whether water is beading up on the outside of the toilet bowl. On hot, humid summer days, condensation may create the appearance of a leak without one actually being present. Wipe up the moisture, flush the toilet, and watch carefully. If no more water appears, odds are the cause was simply condensation.
- Faulty wax ring: The wax ring is a circular seal that fits around the toilet base. It ensures the toilet and the flange are watertight. Over time, this wax can deteriorate, or it might have been improperly installed to begin with. Either scenario can cause leaks. If the issue lies with the wax ring, you’ll likely see water pooling around the base of your toilet every time you flush.
- Loose bolts: The T-bolts that anchor the toilet to the floor keep this plumbing fixture stable. If the bolts become loose, you may experience a wobbly seat. The instability created by the loose bolts can break the wax ring seal and allow water to escape from underneath the toilet each time you flush.
- Cracked tank or bowl: Hairline cracks in your toilet tank or bowl are easy to overlook but may be the cause of your leaky toilet. If you spot a crack, replace the faulty component as soon as possible to prevent the problem from worsening.
- Loose water supply line: A flexible water supply line bridges the gap between the toilet and a pipe installed behind the wall. If this line is degrading or coming loose, it may develop a slow drip.
- Malfunctioning fill valve: The fill valve controls the water as it enters the toilet tank. If it malfunctions, water may continuously flow into the tank, causing it to overflow and leak.
Supplies for Setting a Toilet
First things first—you need the right tools. Stock your toolbox with the following supplies to ensure a smooth and successful toilet installation:
- Adjustable wrench
- Rubber gloves
- Putty knife
- Rags
- Wax ring
- T-bolts
- Carpenter’s level
Step-By-Step Guide to Properly Set a Toilet
Step 1: Remove the Old Toilet
If you’re installing a new toilet for the first time, you can skip this step. Otherwise, turn off the water supply behind your existing toilet and flush it to remove the water from the tank. Detach the supply line and lift the tank off the bowl. Then, unscrew the T-bolts with an adjustable wrench and remove the toilet bowl.
Step 2: Prepare the Area for Toilet Installation
The place where the toilet will be set should be free from debris, water, or old adhesive material. Don rubber gloves and remove remnants of the old wax ring with a putty knife or similar tool. Wipe up any standing water with rags. Then, check the floor flange—it should be secure and level.
Step 3: Position the Wax Ring
Center the new wax ring over the sewer hole, pressing it slightly onto the toilet flange. This step is crucial to form a watertight seal between the toilet and the sewer pipe.
Step 4: Install the T-Bolts
Slide your T-bolts into the slots on each side of the flange. These will help keep your toilet anchored firmly to the floor, another key to preventing leaks.
Step 5: Lower the Toilet into Place
Very carefully, lower the toilet bowl onto the wax ring and T-bolts. Make sure it’s precisely aligned; otherwise, you may have to deal with leaks later. Get assistance from a second person to make this process easier and avoid injuring yourself.
Step 6: Check for Level
Confirm that the toilet is sitting straight by placing a level on the bowl and checking the bubble indicator. You can correct any imbalances by inserting plastic shims between the base and the floor to adjust the toilet’s position before tightening the bolts.
Step 7: Secure the Toilet
Use your adjustable wrench to tighten the nuts onto the T-bolts. Be careful, as over-tightening can crack your toilet base.
Step 8: Attach the Tank
If your toilet has a separate tank, now’s the time to secure it to the bowl using bolts and rubber washers. Double-check for a snug, leak-proof fit.
Step 9: Final Testing
Connect the supply line and turn on the water. Once the tank is full, conduct a flush test while checking for any leaks around the base and the tank. Perform a few more flush tests to be sure everything looks good. Congratulations—you have successfully set your toilet to prevent leaks!
Schedule Toilet Repair Service with Puget Sound Plumbing and Heating
While a DIY approach may save you money, toilet installation and repair can be complicated. If you find yourself in a tricky situation or don’t have the physical capabilities to set a toilet yourself, call Puget Sound Plumbing and Heating for help. We’re available 24/7, with highly skilled and fully licensed technicians on our team to ensure a job well done.
Call us today at (206) 938-3219 or contact us online and let us handle all your plumbing woes. We promise you won’t be disappointed if you choose our family-owned business as your go-to plumbing service provider in Seattle!


